PlotWatcher Pro vs Trail Camera: What Each One Does
PlotWatcher systems and conventional trail cameras answer different scouting questions. Compare their coverage, workflow, limitations, and responsible use before choosing one—or combining them.
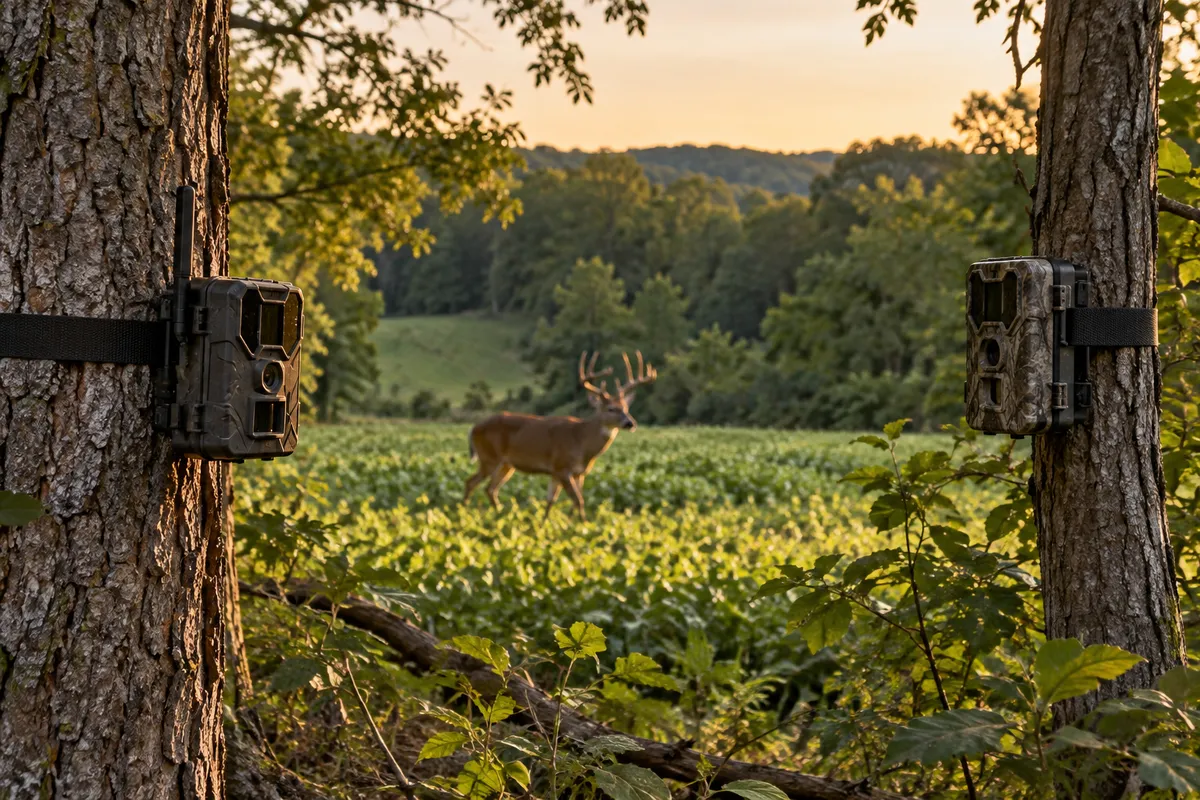
The plotwatcher pro vs trail camera question is less about which device is universally better and more about what kind of information a hunter needs. A conventional trail camera records motion-triggered images at a specific location; a PlotWatcher-style time-lapse camera is designed to capture a sequence across a broader view at scheduled intervals. The distinction affects placement, power planning, image review, and what activity you can reasonably infer. Exact features vary by model and generation, so confirm current specifications with the manufacturer before relying on a particular function.
What is the basic difference?
A motion-triggered trail camera waits for movement within its detection zone, then records a photograph or video. That makes it useful for documenting animals that pass a trail, food source, water access, or other narrow travel route. It can provide detailed evidence of visits, but the camera sees only what falls within its field of view and trigger range.
A time-lapse plot camera instead makes images according to a schedule, whether or not its sensor detects motion. From a suitable elevated or open position, a sequence can show broad patterns across a field edge, opening, or food plot: when wildlife enters, where it travels, and how activity changes through the day. Scheduled captures may also record empty scenes, and an animal moving between frames can be missed.
These are different sampling methods, not simply “advanced” and “basic” versions of the same tool. A trail camera is a targeted observer; a time-lapse camera is a periodic observer of a wider scene.
When does a time-lapse view help?
A broad view is useful when the question concerns movement across a visible area rather than one point. For example, a hunter managing habitat might want to learn which field margins receive activity or whether animals appear during daylight, dusk, or darkness. A sequence can help identify recurring patterns and guide later, more focused observation.
That view has limits. Vegetation, terrain, distance, and changing light can make identification difficult. A small animal far across a plot may occupy only a few pixels, and a scheduled interval can miss brief activity. Time-lapse evidence should be treated as a sample of what was visible at capture times, not a complete record of every animal or visit.
A conventional camera is often more informative when the goal is to confirm what uses a particular trail or crossing. Its close placement can produce recognizable detail, while a broad time-lapse view offers context. If you are considering how observation fits into a broader setup, see natural ground blinds for deer hunting for another perspective on concealment and placement.
What should you compare before choosing?
Start with the question you need answered, then compare the equipment against that job:
- Coverage: A time-lapse unit may suit a wide, visible area; a trail camera suits a defined detection zone. Compare the actual lens and image specifications for the model in question rather than assuming a product name guarantees a particular view.
- Capture method: Determine whether the camera relies on scheduled intervals, motion detection, or a combination. Check the available settings and whether they can be adjusted for the observation period.
- Image review: Consider the number of frames a schedule may generate and how the files are stored and reviewed. A large sequence can take more sorting than a smaller set of event-triggered images.
- Power and weather protection: Consult the manufacturer’s documentation for operating conditions, battery compatibility, and storage limits. Cold weather, long deployments, and frequent image capture can affect practical runtime.
- Mounting and access: A broad view may require a stable, elevated position and a clear line of sight. A trail camera may be easier to conceal near a narrow route, but placement should not damage trees or create hazards.
- Privacy and rules: Avoid aiming cameras at neighboring property, homes, public-use areas, or places where people reasonably expect privacy. Check local regulations and landowner requirements before deployment.
Product names can persist across revisions, and specifications can change. If a feature matters to your decision—such as interval options, video, wireless transfer, or memory-card support—verify it in the manufacturer’s current documentation instead of relying on an old product description.
How can placement improve the information?
For a time-lapse camera, choose a stable position with a useful view and minimal obstruction. Think about sun direction, shadows, tall vegetation, and whether the scene will change as crops or plants grow. A view that looks open at installation may become partly blocked later. Keep the camera secure and record its location and settings so the image sequence has context when reviewed.
For a motion-triggered camera, aim across—not directly down—the expected line of travel when practical. This can give an animal more time within the detection zone, though performance depends on the device and conditions. Avoid placing it where moving branches, direct sun, or repeated non-target motion could create a flood of images. Follow the manufacturer’s mounting guidance and local rules about fastening equipment to trees.
In either case, minimize disturbance. Repeated visits can leave scent, alter animal behavior, or draw attention to a site. Use a route that limits habitat impact, check equipment only as often as the project requires, and avoid placing cameras where they could reveal sensitive wildlife locations to unauthorized visitors.
Can the two approaches work together?
Yes, when each device answers a distinct question. A wide time-lapse view can help identify broad patterns, while a motion-triggered camera can document activity at a selected crossing or trail. The combination is most useful when observations are compared carefully: note deployment dates, settings, weather changes, and camera locations, and avoid treating one camera’s missed capture as proof that no animal was present.
A simple field log can prevent mistaken conclusions. Record when equipment was installed and checked, whether vegetation or equipment changed, and any known periods when power or storage may have run out. If the goal is habitat improvement, use the imagery alongside direct knowledge of the property and local wildlife guidance. Camera images alone cannot establish population size, overall health, or a reliable harvest forecast.
For related outdoor context, aim small discusses a different aspect of hunting preparation; keep equipment observations separate from decisions about safe, lawful field practice. The hunting and archery section gathers additional coverage on hunting, gear, and outdoor skills.
What mistakes should you avoid?
The most common mistake is comparing devices by a single advertised feature instead of matching them to a real observation task. A wide scene is not automatically useful if the subjects are too distant to identify. A motion-triggered camera is not comprehensive simply because it records detailed images at one point. Each has blind spots.
Another mistake is assuming a short sequence represents a whole season or a full day. Capture schedules, battery condition, storage capacity, weather, and vegetation all shape what gets recorded. Interpret patterns cautiously, and do not infer absence from gaps.
Finally, do not overlook privacy, access, and wildlife disturbance. Get permission where needed, follow applicable laws, keep cameras away from private spaces, and secure them without damaging habitat. Choose the simplest setup that answers the question, verify its current specifications, and reassess whether the images are genuinely changing your understanding of the site.
The practical choice
Choose a PlotWatcher-style time-lapse camera when broad, scheduled snapshots of an open area are more valuable than close detail at one point. Choose a conventional trail camera when you need motion-triggered records at a defined route or location. If uncertainty remains, start by stating the observation question in one sentence; that usually makes the better fit clearer. In either case, treat camera records as useful but incomplete evidence, and confirm model-specific features with the manufacturer.
Frequently asked questions
What is the main difference between PlotWatcher and a standard trail camera?
A PlotWatcher-style camera is associated with scheduled time-lapse images across a broad view, while a conventional trail camera typically records when motion triggers it within a defined detection zone. Confirm the exact functions of the model being considered.
Can a time-lapse camera miss wildlife activity?
Yes. An animal may move through the scene between scheduled frames, and distance, vegetation, terrain, or lighting can make captured images hard to interpret. The sequence is a sample, not a complete record.
Should I use both types of camera?
They can complement each other if they answer different questions—for example, broad activity patterns and visits to a specific crossing. Follow privacy rules, get permission where required, and interpret gaps cautiously.
Sources & further information
Consult these primary sources for current regulations, technical information and local guidance.