Deer Skull Dipping Spray Paint: A Careful DIY Finish
A layered spray finish can add color to a cleaned deer skull without hiding its natural form. Plan the masking, coating, and drying steps carefully, and keep the work safe and reversible where possible.
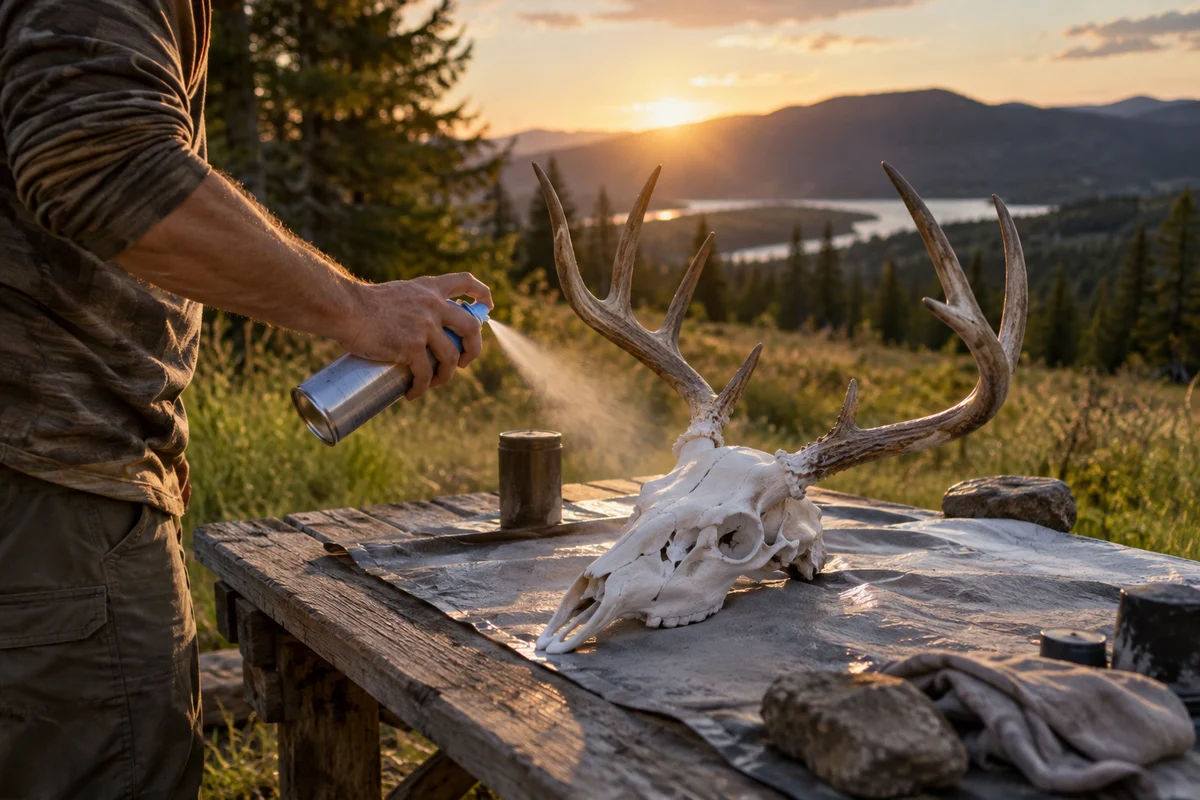
Deer skull dipping spray paint can create a patterned finish on a cleaned, dry skull, but the result depends more on preparation and control than on the number of colors. Treat this as a decorative project, not a method for cleaning bone: remove tissue and grease first, protect details you want to preserve, and test the paint effect on a spare surface before coating the skull. This guide covers planning, basic materials, application choices, drying, and responsible handling.
Start with a clean, dry skull
Paint adheres poorly to grease, damp bone, dust, and leftover tissue. If the skull is not fully prepared, a coating can trap odor or discoloration beneath the surface. Finish the cleaning and degreasing process before decorating; do not use spray paint to conceal an unfinished specimen. Let the skull dry thoroughly in a ventilated place, away from direct heat that could damage bone or any attached material.
Check the skull for loose teeth, fragile nasal structures, cracks, and delicate edges. Bone is not a uniform, indestructible surface. A brittle specimen may be better left unpainted, or decorated with a minimal treatment that avoids fragile areas. Decide in advance whether the natural ivory tone, antler bases, and small cavities should remain visible.
For broader deer-care and field topics, browse more outdoor coverage. If your project is part of planning for a hunt rather than preserving a specimen, these steps to prep for deer season offer a separate planning perspective.
Choose a pattern before opening the cans
“Dipping” can mean immersing an object in a water-transfer film, but that technique calls for materials and handling beyond ordinary spray painting. A simpler decorative approach is to create a dip-like boundary with masking and layered spray colors. This article focuses on controlled spray application, not chemical or water-transfer dipping systems.
Sketch the intended boundary on paper. A band across the cranium, a diagonal color break, or a restrained gradient is easier to control than a complicated pattern around every opening. Consider the skull’s natural contours: paint pooling in eye sockets or nasal openings can look heavy and obscure the structure. A restrained design often leaves more of the bone visible and is easier to touch up.
Choose coatings whose labels identify them as suitable for the intended surface, and read the product’s safety and application directions. Formulas and compatibility vary; do not assume that every aerosol coating bonds equally well to bone. Test the selected paint and masking material on an inconspicuous area or a comparable scrap surface first. If the finish remains tacky, lifts with tape, or changes the bone’s appearance unexpectedly, stop and reconsider.
Gather a small, sensible setup
Set up a stable work surface in a well-ventilated area that is permitted for spray use. Follow the paint label for ventilation and protective equipment. Keep aerosol products away from flames, sparks, heaters, and other ignition sources. Do not spray indoors in a living space, near food, or where children or pets may contact overspray. If you cannot provide the ventilation and precautions specified by the manufacturer, postpone the project or use a different finishing method.
Useful basics include clean masking material, low-tack tape, disposable surface protection, gloves appropriate to the product label, and a support that holds the skull without forcing pressure onto fragile bone. Keep the can’s cap and label available, and have a plan for leftover product and waste that follows local disposal rules. Avoid improvising with solvents or cleaners that the coating manufacturer does not recommend.
Mask the areas you want to preserve
Apply tape gently and only to sturdy, clean surfaces. Press the edge where you want a crisp boundary, but avoid wrapping tape tightly around thin projections or pulling it across loose teeth. For openings, use a removable cover that does not shed fibers or leave residue. Do not force material deep into cavities; removal can put stress on delicate anatomy.
Make a final inspection from several angles. Masking is easiest to correct before spraying. If the design includes antlers, protect them separately and confirm that the covering can be removed without snagging or transferring adhesive. A small test strip can reveal whether the tape lifts an existing finish or leaves residue. When in doubt, use less tape and keep the painted area away from vulnerable surfaces.
Apply thin coats with control
Work according to the coating label, including its recommended distance, temperature range, and recoat timing. Use light, even passes rather than holding the nozzle in one place. Heavy application increases the chance of runs, pooled paint, and softened detail. Rotate the skull only when it is supported securely; do not grip a wet area or turn it by an antler.
For a two-color dip effect, apply the first color and allow it to dry as directed before repositioning the mask for the second. Keep the boundary simple and check for overspray before adding another layer. A gradual fade is possible with careful, light passes, but it can be difficult to make even on irregular bone. If a coat looks uneven, wait for the stated drying period and assess it in good light rather than trying to correct it with a thick burst.
Avoid spraying into enclosed cavities simply to make the color uniform. Those areas are easy to overcoat and hard to inspect. The skull’s shape is the feature; preserving its definition matters more than achieving complete coverage.
Let the finish cure, then remove masking slowly
Drying to the touch is not always the same as full cure. Follow the label’s timing before handling, displaying, or adding another coating. Keep the piece in a ventilated, protected location while it dries, with no dust, direct sun, or curious animals around it. Do not use a household oven, heat gun, or open flame to accelerate drying.
Remove masking gently, pulling back over itself at a low angle. If tape catches on a fragile edge, stop instead of tugging. Small imperfections can be less damaging than a broken nasal bone or lifted surface. Once the coating has cured, inspect the skull for blocked openings, loose material, and areas where paint has pooled. Do not use an unapproved solvent to remove mistakes; it may discolor bone or create a new exposure hazard.
If you are documenting a deer from a hunt, keep preservation and record claims distinct. A decorative finish does not establish a deer’s age, score, or status. For context on what check stations may assess, see how deer are aged at check stations. Agency practices vary, so consult the wildlife authority responsible for the location where the deer was taken.
Common mistakes and safer alternatives
The most common problems are painting before degreasing, using too much product, masking fragile structures, and working without the ventilation required by the label. Another avoidable error is treating an aerosol coating as a substitute for specimen preparation. If there is odor, visible residue, or persistent grease, stop and address the underlying preparation issue rather than sealing it in.
A painted skull is also a changed specimen. If preserving a natural appearance or future examination matters, leave it untreated or choose a small, removable display element instead. For a sentimental or valuable specimen, consider asking an experienced local taxidermist about suitable preservation options. Do not represent a painted skull as an untouched natural specimen.
Responsible hunting and wildlife rules matter before any preservation project begins. Check current state or local requirements for possession, transport, and collection of wildlife parts, especially when crossing jurisdictional boundaries. Rules can differ by species and location, and this article is not legal advice. The U.S. Fish and Wildlife Service provides federal wildlife information; state wildlife agencies are the appropriate place to confirm local requirements.
Frequently asked questions
Can I spray-paint a skull that still has grease or odor?
It is better to stop and complete appropriate cleaning and degreasing first. Paint can trap residue and odor, and it will not correct incomplete preparation. Ensure the bone is fully dry before coating.
Does spray paint dipping require submerging the skull?
No. A dip-like color break can be made with masking and controlled spray layers. Water-transfer dipping is a different process with its own materials and directions; do not assume ordinary aerosol instructions apply to it.
How do I keep paint out of the eye sockets and nasal openings?
Use light passes, a stable support, and removable covers placed without forcing anything into delicate cavities. Avoid spraying directly into openings, and remove masking slowly after the coating has dried as directed on its label.
Sources & further information
Consult these primary sources for current regulations, technical information and local guidance.