Vexilar FL12: A Practical Guide to Reading the Ice
A clear, field-minded guide to using the Vexilar FL12 as an ice-fishing sonar: what its display can tell you, where it has limits, and how to make better decisions over the hole.
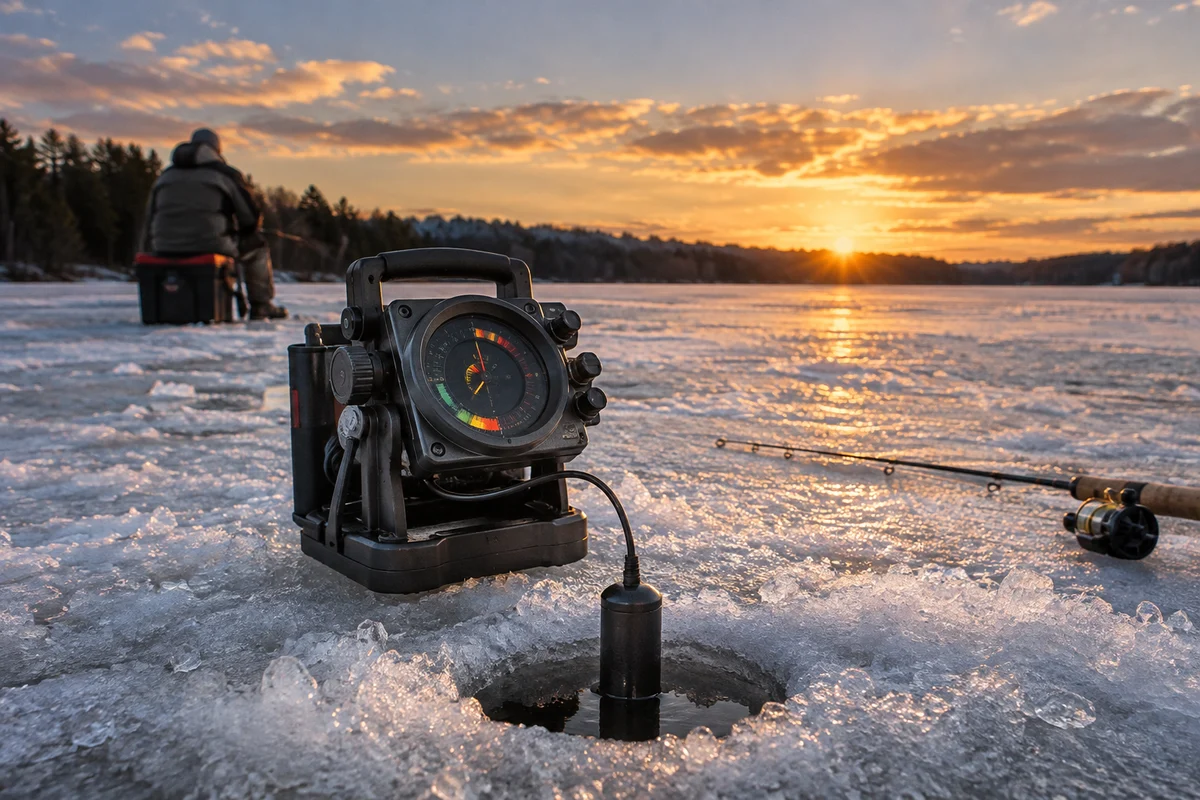
The Vexilar FL12 is a flasher-style sonar unit designed to help anglers see depth, bottom, and moving targets beneath an ice hole. Its display is most useful when treated as a live picture of sonar returns—not as a species detector or a guarantee that fish are biting. A little time spent understanding the display, checking the transducer position, and comparing readings with what is happening at the hole can make each signal more meaningful.
Model features and included components can vary by version or package, so confirm current details in Vexilar’s documentation rather than relying on assumptions about a particular kit. The practical principles below apply to reading a flasher and making sound decisions on the ice.
What does a flasher show?
A flasher sends sound pulses through the water and displays returning echoes in relation to depth. The circular screen represents the water column, while colored or illuminated marks indicate returns. The exact presentation and controls depend on the unit’s configuration; consult its manual for control labels and mode descriptions.
The bottom usually creates the strongest, most persistent return. Smaller marks above it may be fish, suspended bait, weeds, or other objects. A flasher can show that something is returning sound at a given depth, but it cannot reliably identify a species or tell you whether a fish is legally harvestable. Treat the display as one source of evidence alongside your bait, line, and surroundings.
How should you set up the Vexilar FL12 at a hole?
Start on stable, level ice and keep the unit and battery protected from slush and standing water. Place the transducer so it hangs vertically in the hole and points into the water, with enough clearance to avoid scraping the ice edge. A tilted or swinging transducer can make the display harder to interpret, especially when you are trying to separate your lure from nearby returns.
Lower the transducer and note the bottom reading before fishing. If the displayed depth seems inconsistent, check that the transducer is centered and vertical, then compare the reading after lowering it again. A layer of slush or debris in the hole, a shallow edge, or an uneven bottom can affect what you see. Avoid assuming a strange reading means fish are present.
Follow the manufacturer’s instructions for the battery, cables, storage, and operating controls. Keep electrical connections dry, and do not force a cable or transducer into an awkward position. If you are setting up more than one hole, make sure your gear placement does not create a tripping hazard around other anglers.
How do range and gain affect the reading?
Range determines the depth interval represented on the display. Use a range that includes the bottom with some room above it, rather than leaving a large amount of unused water column on screen. In deep water, a broader range may be needed; in shallow water, a narrower view can make it easier to follow a lure near bottom. Make changes gradually so you can tell what each adjustment does.
Gain controls how strongly the unit displays returning signals. Too little gain can hide a light lure or subtle return. Too much can fill the screen with clutter, including weak echoes and interference. There is no single setting that works everywhere: water depth, lure size, bottom composition, and nearby sonar units all matter.
A useful approach is to begin with a clear bottom return and increase sensitivity only until your lure becomes visible. If the screen becomes busy, reduce gain slightly and check whether the lure and bottom remain distinguishable. Make one adjustment at a time instead of changing several controls at once; that keeps cause and effect easier to understand.
How can you distinguish your lure from other marks?
Lower your lure slowly while watching the display. A return that moves down in step with your line is likely your presentation. Pause at a chosen depth and see whether the mark stays there. Jigging should produce a corresponding change in the lure return, although the appearance varies with the lure and settings.
Fish may appear as separate marks, arcs, or changes near the lure, but their appearance is not definitive. A mark can move because a fish is moving, because the transducer or line shifted, or because settings changed. Watch for repeatable behavior: a return that approaches the lure and then changes direction is an observation, not proof of a strike. Keep the line under control and be ready to respond to an actual bite rather than reacting to every screen fluctuation.
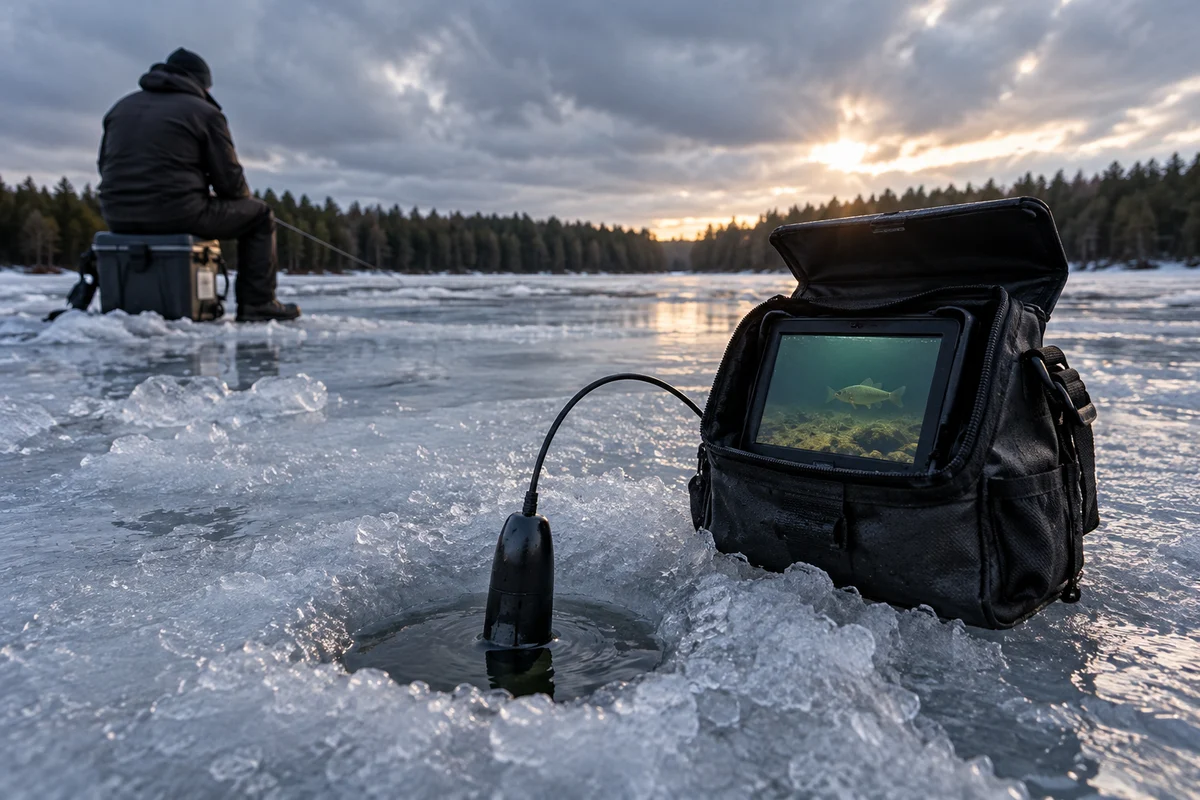
If the display shows a strong bottom band that obscures the area just above it, adjust the range or gain modestly and compare. A soft bottom may create a broad return, while a firm bottom can look sharper, but these are clues rather than a dependable bottom-composition test. Use an underwater camera only if conditions and local rules allow; for another perspective on camera systems, see our overview of the FishPhone by Vexilar.
What can cause clutter or confusing signals?
Nearby electronics can interfere with sonar readings. If the display becomes noisy, check that the transducer is stable and that the cable is not rubbing against the hole. Where anglers are using multiple sonar units close together, coordinate politely and consult the manual for any interference-reduction controls available on your model. Do not assume every extra mark is a fish.
Bubbles, suspended debris, weeds, a lure with a large profile, and movement in the transducer can also create confusing returns. Lift and lower the transducer slightly to see whether the display changes, then return it to a steady position. If a reading is not repeatable, make decisions based on more than that single moment.
A flasher is also not a substitute for checking ice conditions. Ice thickness varies across a lake and around current, inlets, outlets, cracks, vegetation, and changing weather. There is no universal thickness that guarantees safety. Check local guidance and current conditions, use appropriate flotation and safety equipment, and avoid going alone. If conditions are uncertain, stay off the ice. A sonar screen can reveal underwater depth; it cannot tell you whether the ice above you is safe.
How should the display guide an ice-fishing plan?
Use the FL12 to test a location efficiently. Check depth, lower a lure, and watch for activity at a few sensible levels. If you see little response, consider moving or changing presentation rather than spending the entire outing trying to decode one ambiguous mark. A sonar return can help identify where to focus, but fishing success still depends on species behavior, weather, local regulations, and presentation.
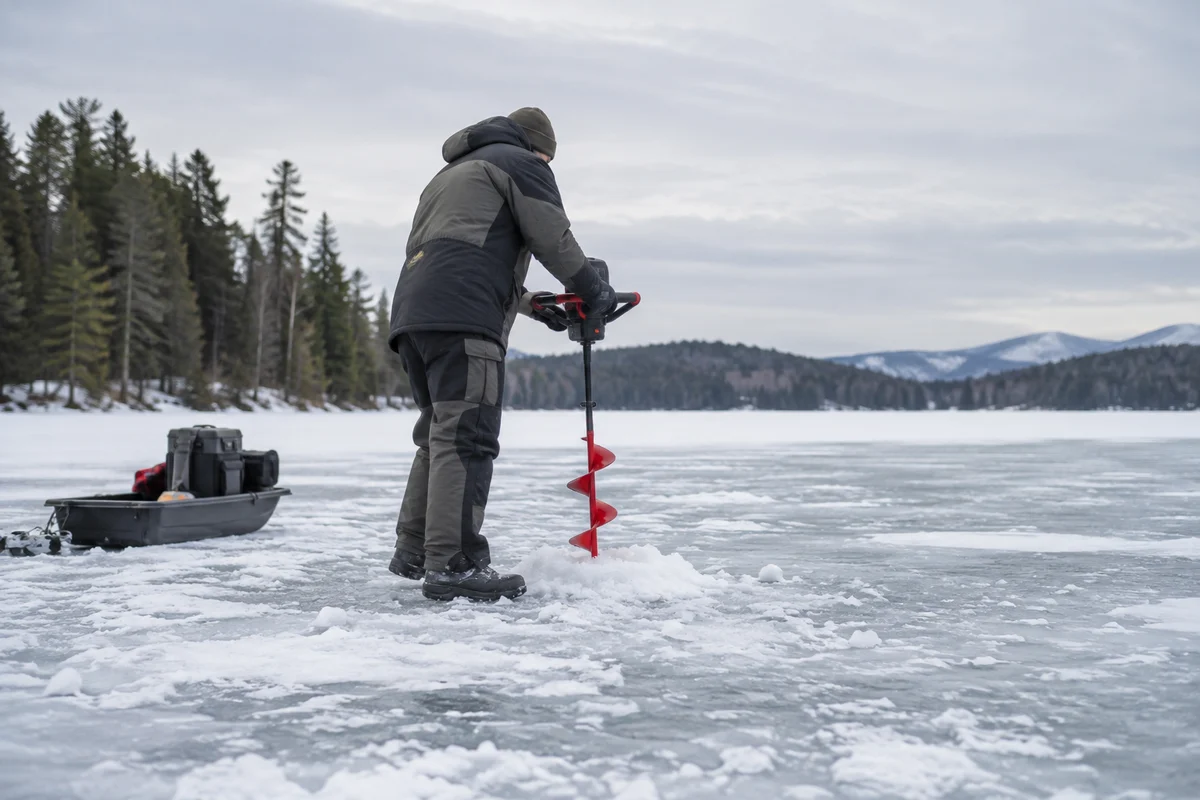
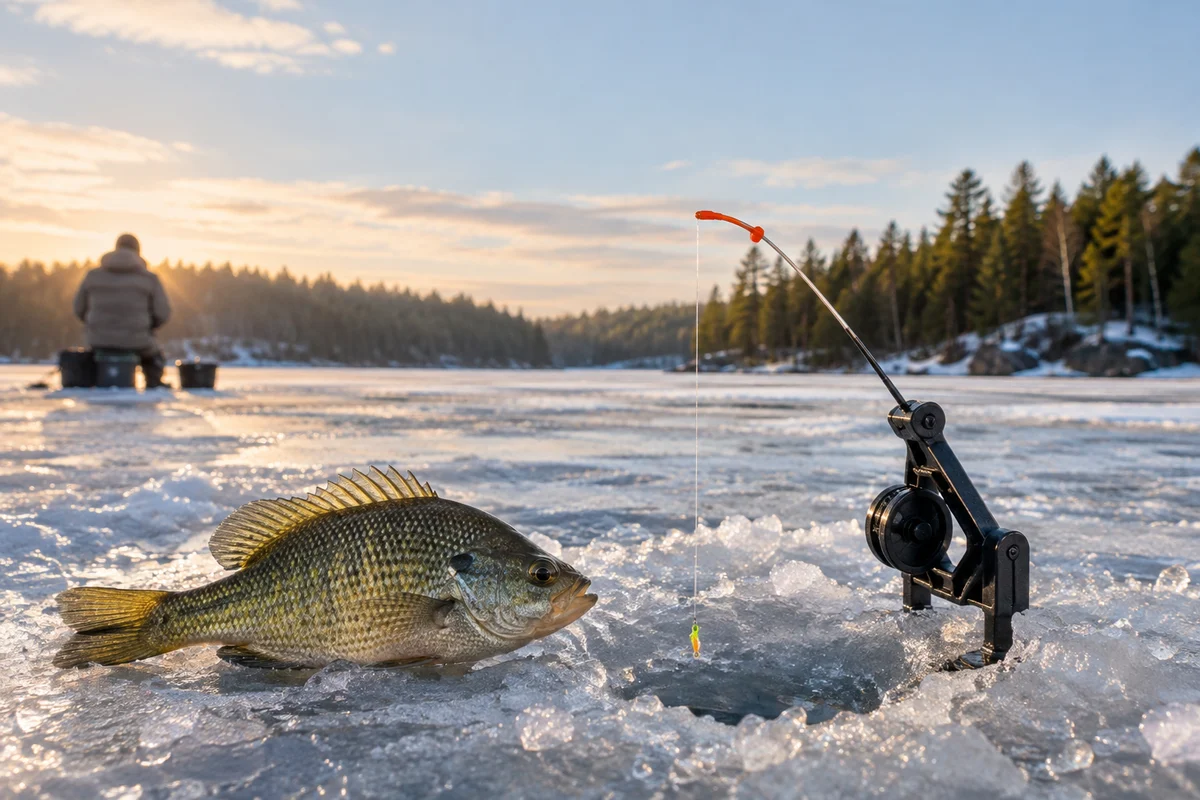
Plan gear and shelter around conditions, not just electronics. An auger opens access to the water, while a tip-up or tip-down can help cover another permitted line; learn local line limits before spreading out. For context on choosing a hole-making tool, read our guide to the Polar Fire Sabre FX ice auger. You can also browse more outdoor coverage for practical ice-fishing topics.
Before heading out, check current regulations for the waterbody, including seasons, species limits, gear rules, and any special restrictions. State wildlife agencies are the right starting point for local rules. Keep the unit’s manual accessible, especially when learning unfamiliar controls or troubleshooting a display.
What should you verify before relying on a specific model?
Product names and packages can change, and accessories may differ. Confirm the exact FL12 version, included transducer and battery components, warranty terms, and operating instructions with Vexilar’s official materials or an authorized service channel. This guide does not claim to have tested a particular unit or package. For a comparison among sonar products, use current manufacturer documentation and compare the features that matter to your fishing conditions rather than assuming similarly named models work identically.
The best use of a flasher is disciplined observation. Establish a trustworthy bottom reading, keep the transducer steady, learn how your settings affect the screen, and distinguish what the unit shows from what it cannot establish. Used that way, the Vexilar FL12 can make the underwater picture easier to follow while leaving safety, regulations, and judgment where they belong: with the angler.
Frequently asked questions
Can a Vexilar FL12 identify the fish shown on its display?
No. A flasher shows sonar returns and their depth or movement, but it cannot reliably identify a species. Confirm fish identity by observation and follow local regulations.
Why does the FL12 screen look cluttered?
Possible causes include gain set too high, a moving or tilted transducer, debris or bubbles, and interference from nearby sonar units. Check transducer stability and adjust one control at a time, following the unit manual.
Does a sonar flasher tell me whether ice is safe?
No. Sonar shows underwater returns, not ice strength. Ice conditions vary, so check local guidance and conditions, use appropriate safety equipment and a flotation plan, and stay off uncertain ice.
Sources & further information
Consult these primary sources for current regulations, technical information and local guidance.