Fenix CL25R LED Lantern: A Practical Camp-Light Guide
A practical guide to evaluating a compact rechargeable lantern for campsite tasks, with clear advice on placement, power planning, weather exposure and backup light.
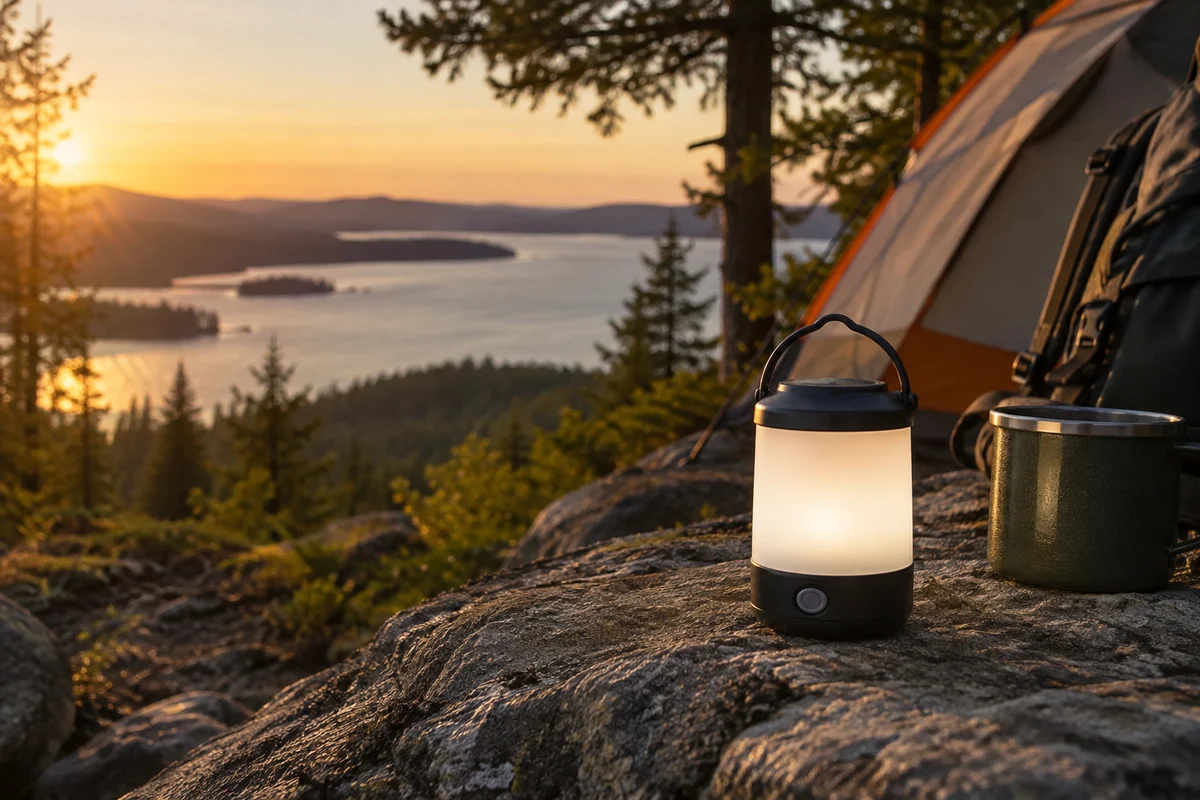
A Fenix CL25R LED lantern can be a useful part of a camp lighting plan when its form, charging setup and light output match the way you spend time outdoors. Before relying on any rechargeable lantern, confirm its current specifications with Fenix: product versions and documentation can change, and a model name alone does not establish runtime, brightness, water resistance or charging details. The most reliable approach is to assess the actual unit and manual, then plan for the conditions and duration of your trip.
What to check before taking the lantern outdoors
Start with the product label and current manufacturer documentation. Confirm the exact model designation, included accessories, battery arrangement, charging method and any stated environmental limits. Do not assume that specifications remembered from an older listing apply to the unit in hand. If a feature matters to your trip—such as a particular charging connector, a low-output mode or resistance to rain—verify it rather than inferring it from the product name.
Inspect the lantern before departure. Look for damaged housing, a loose cover, corrosion or debris around contacts, and unusual battery swelling or leakage. Check that controls work and that the light responds consistently through its modes. If the manual specifies a particular battery or charger, follow it. Keep charging equipment dry and protected, and avoid charging a device that is visibly damaged or behaving abnormally.
Think about the job the lantern will do. A small area light can be convenient for a picnic table, tent vestibule or sheltered cooking space, but it is not automatically a substitute for a headlamp or a focused flashlight. For a broader look at camp setup, browse more outdoor coverage and consider how shelter, food storage and lighting work together.
How to judge light for campsite tasks
A lantern is most useful when it illuminates a shared area without leaving harsh shadows or shining directly into someone’s eyes. Try it at home in a dim room before a trip. Place it at approximately the height and distance you expect to use, then see whether you can read a map, sort gear or prepare a meal comfortably. This simple check is more helpful than relying on a maximum-output figure alone.
Use the lowest setting that safely supports the task. Lower output may preserve battery, reduce glare and make it easier to see beyond the immediate campsite. Brighter light can be helpful when organizing equipment, but it can also make nighttime adaptation harder. Avoid shining lights toward roads, neighboring campsites, wildlife or approaching boaters.
A lantern’s shape and hanging options affect where it works best. Check whether the body can sit securely on a flat surface or attach to a suitable support as described by the manufacturer. Avoid hanging it where it can swing into fabric, fall into water or interfere with a tent’s ventilation. Keep any light and charging cable away from open flame and hot cooking surfaces.
Runtime is a planning question, not a promise
Published runtime figures depend on the mode and test conditions stated by the manufacturer. Cold temperatures, battery age, charging history and intermittent use can affect the practical result. Treat a runtime claim as a reference for planning, not a guarantee that the lantern will last for a full trip at your preferred brightness.
Before leaving, fully charge the lantern according to its manual and confirm its charge indicator behaves as expected. If the trip spans multiple nights, decide in advance when the lantern will be used and at what level. Save higher output for tasks that need it; use a lower setting for a short shared-area session. Do not wait until the battery is nearly depleted to discover that your campsite lacks a compatible charging source.
Carry an independent backup light. A headlamp leaves both hands free for walking, setting up shelter or handling equipment, while a separate flashlight can help with a brief check away from camp. Store backup batteries or devices according to their own instructions, protected from moisture and accidental activation. For group outings, make sure essential navigation and emergency lights are not dependent on one person’s lantern.
Charging, storage and battery care
Use only a charging method and power source allowed by the current product manual. Keep connectors clean and dry, and do not force a cable into a port. If charging from a power bank or vehicle outlet, confirm compatibility from the manufacturer’s documentation. Disconnect the lantern when charging is complete if the manual recommends doing so, and avoid leaving charging equipment unattended in an exposed or damp location.
After a trip, wipe away dirt and let the lantern dry before storage, following the maker’s care instructions. Do not seal a wet device in a bag for long-term storage. Store it in a cool, dry place away from direct heat, and check its condition periodically. Battery storage recommendations vary by chemistry and product design, so consult the manual instead of applying a generic rule.
If the lantern will not charge, first check the cable, power source and connector for obvious problems without opening or modifying the device. Stop using it if it becomes unusually hot, emits an odor, leaks or shows physical damage. Contact the manufacturer for model-specific support; avoid improvised repairs that could compromise battery safety or weather protection.
Weather and campsite placement
A rechargeable lantern’s weather rating, when provided, has specific limits. It does not mean the device is suitable for immersion, prolonged rain or every kind of exposure. Confirm the rating and care instructions for the exact model, and use a sheltered location when conditions are uncertain. Keep the lantern off wet ground and away from puddles, condensation-prone surfaces and splashing water.
Placement matters even in dry weather. Set the lantern on a stable surface where it cannot be knocked over, and keep it clear of sleeping bags, loose clothing and tent fabric. Use only manufacturer-approved hanging points. At a cooking area, position the light where it illuminates the work without being exposed to heat, grease or steam.
Consider the wider campsite, too. A well-lit table can help people see what they are doing, but lighting should not spill unnecessarily into neighboring sites or natural areas. Follow campground rules and local guidance on lighting, wildlife and quiet hours. Keep a dark-adapted, low-light option available for moving around after the main camp light is switched off.
Is this lantern the right fit for your kit?
Compare the Fenix CL25R with your actual needs rather than choosing solely by brand or headline output. Ask whether its size and mounting options suit your shelter, whether its confirmed charging system fits your existing power plan, and whether its stated output and operating modes cover your common tasks. If weight and pack space matter, compare the complete lantern and required accessories—not just the bare device.
For a family campsite, a stable area light may complement a shelter and practical seating. For example, a Clam 1660 Quick Set Escape shelter can create a shared place to gather, but lighting still needs safe placement and weather-aware use. Food and cold storage are another part of camp planning; compare capacity and packing needs with this guide to 20 quart cooler size.
The best choice is the one whose verified features match your routine and whose limitations you can plan around. If you cannot confirm a specification from current Fenix documentation, treat it as unknown and contact the manufacturer before making it central to a trip plan. Carry a backup light, protect the lantern from exposure beyond its rating, and test the setup before heading out.
Frequently asked questions
Can the Fenix CL25R be the only light on a camping trip?
It is wiser to carry an independent backup light. A headlamp or flashlight can serve different tasks and remains useful if the lantern runs low, is misplaced or cannot be charged.
How do I know how long the lantern will run?
Check the current Fenix documentation for runtime by mode and the stated test conditions. Actual performance can vary with temperature, battery condition and usage, so leave a practical reserve rather than planning to use the full published duration.
Is the lantern safe to use in rain?
Only use it within the weather limits stated for the exact model. Confirm the current rating and care instructions, and choose sheltered placement whenever exposure is uncertain; a weather rating does not imply suitability for immersion.
Sources & further information
Consult these primary sources for current regulations, technical information and local guidance.